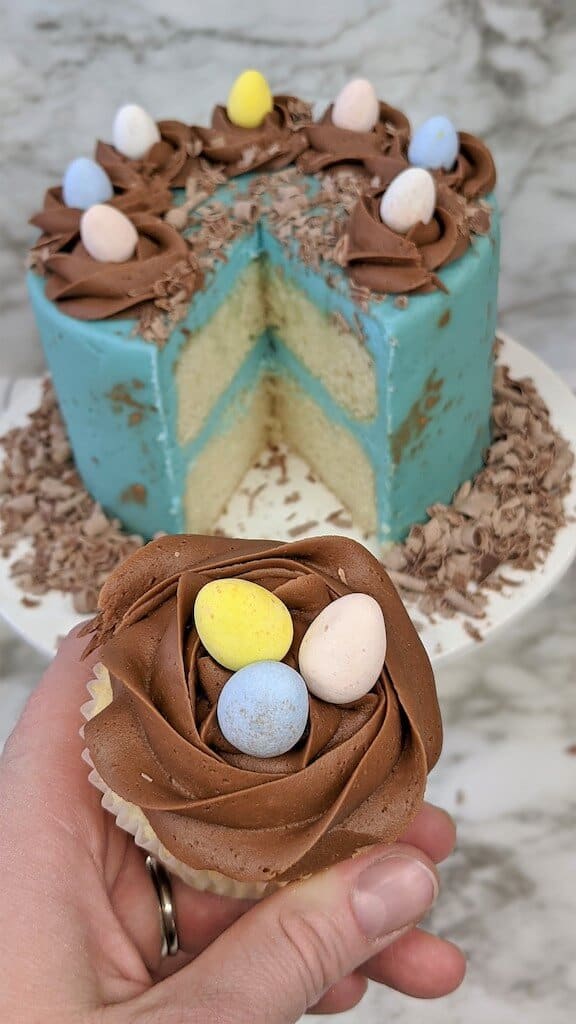
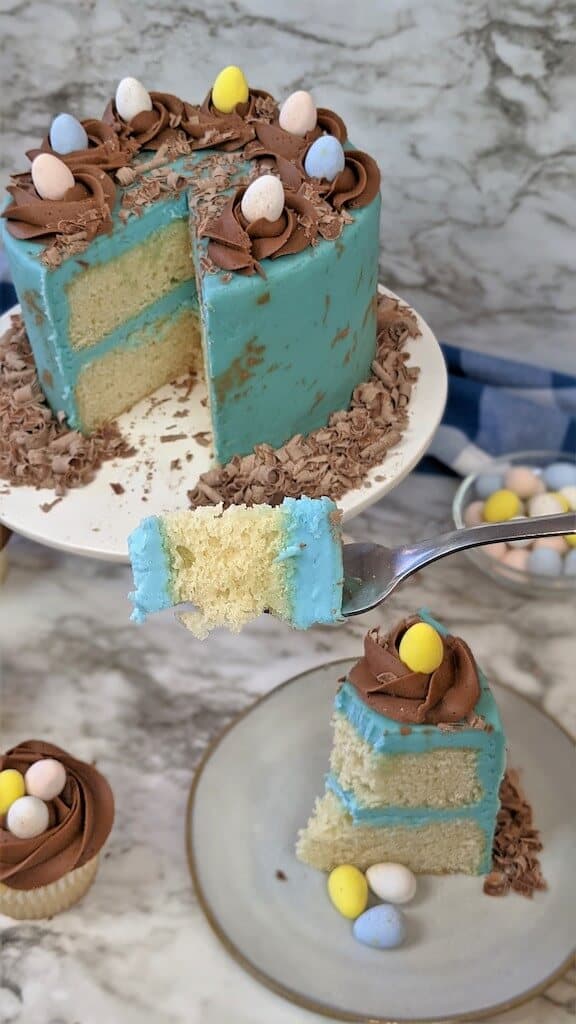
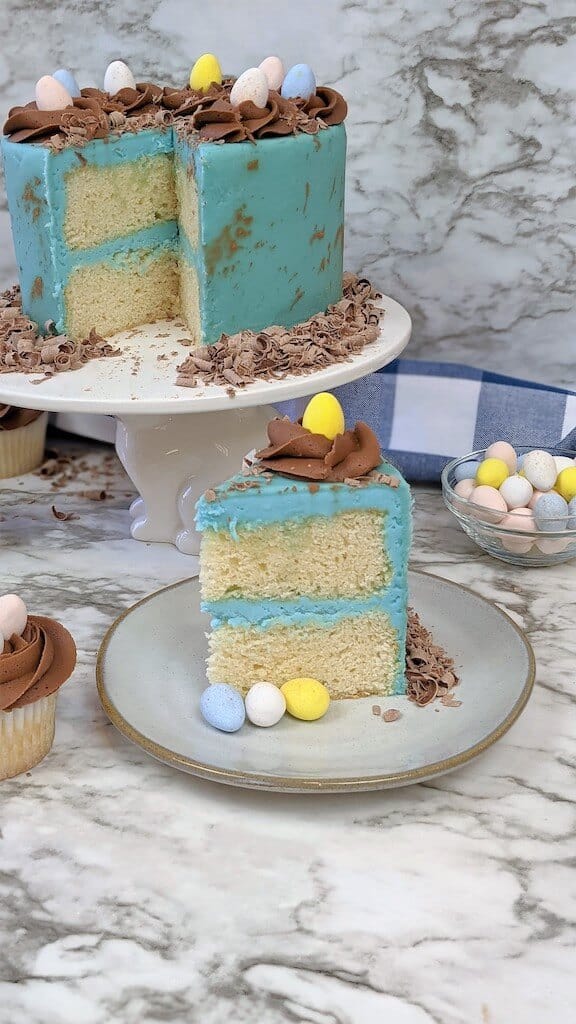
Ready for a fun Easter Dessert that is fairly simple, but looks like you got it at a bakery?! Try our Robin’s Egg Cake and Cupcakes! With our homemade vanilla cake and decadent buttercream frosting, your family will be enjoying this tasty dessert in no time.

Cakes can seem super overwhelming to make, especially when you see the perfect looking ones on Pinterest. With just a little patience and a willingness to try a new one, this cake can be very simple if you follow along.
Ingredients:
Vanilla Cake:
-1 c. milk
-¾ c. or 6 egg whites
-1 t. vanilla
-½ t. almond flavor
-4 t. baking powder
-1 ¾ c. sugar
-2 ¼ c. flour
-¾ c. softened butter

Buttercream Recipes:
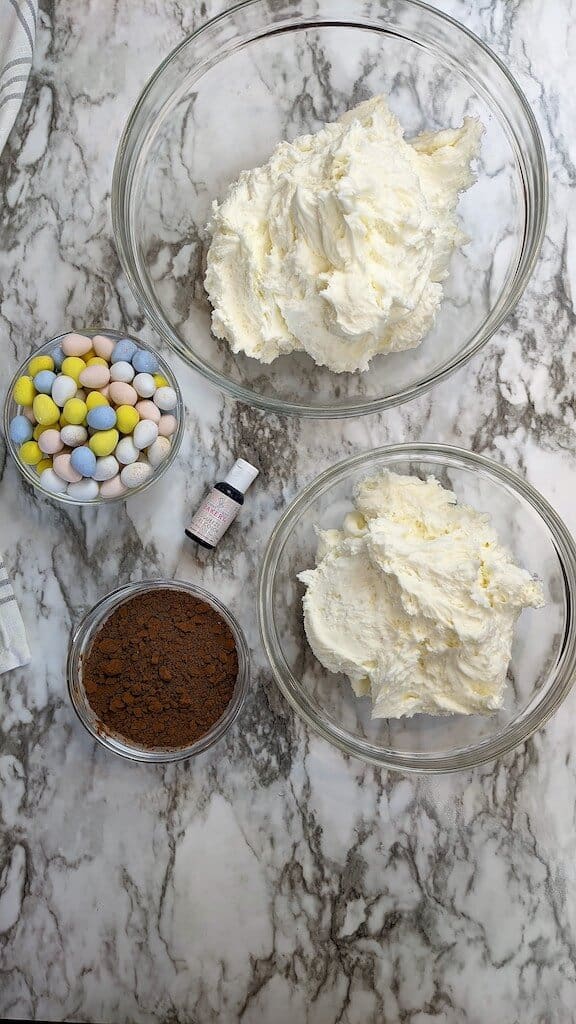
-2 c. softened butter
-4 lbs powdered sugar
-¼ c. cocoa powder
-Light blue gel food coloring
-2-3 T. milk or milk substitute
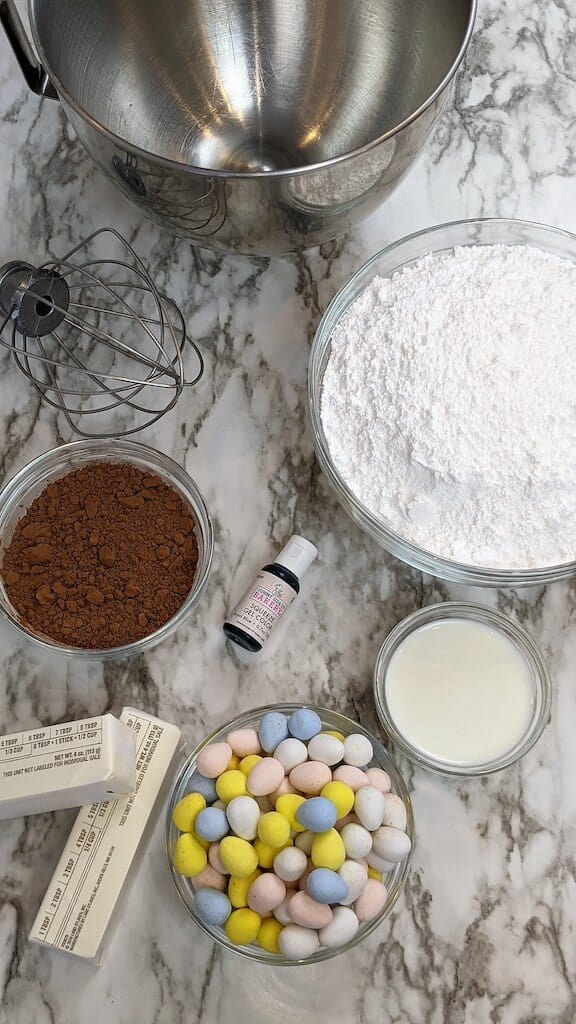
Additional ingredients / supplies needed
-Chocolate shavings – pre-bought or made by taking a peeler to a bar of chocolate
-Robin Egg chocolate candies
-Pastry bags
-2D metal decorating tip
-½ t. Cocoa powder – to sprinkle
Directions:
Cake and Cupcake Directions:
1. Preheat oven to 350 degrees F.
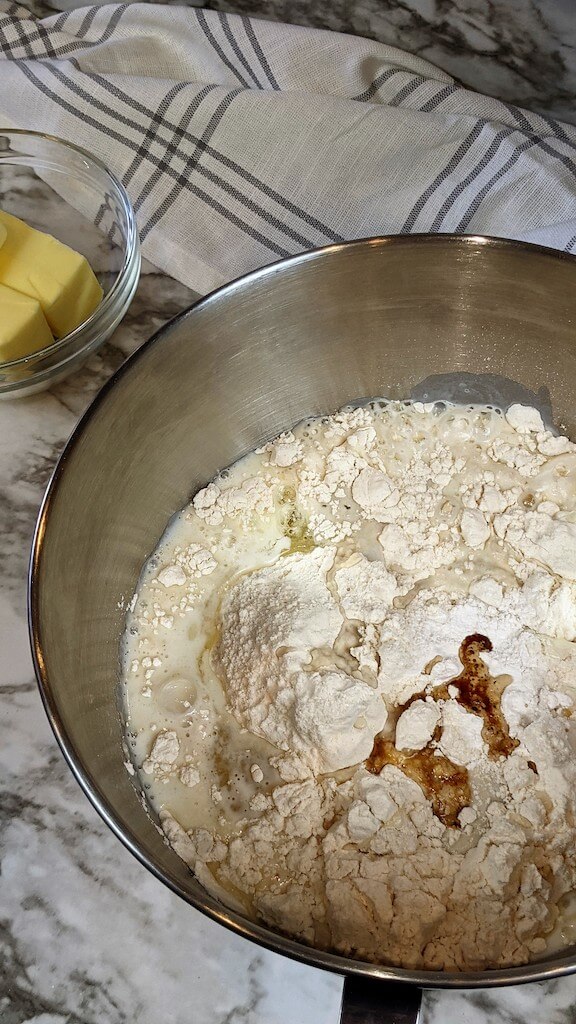
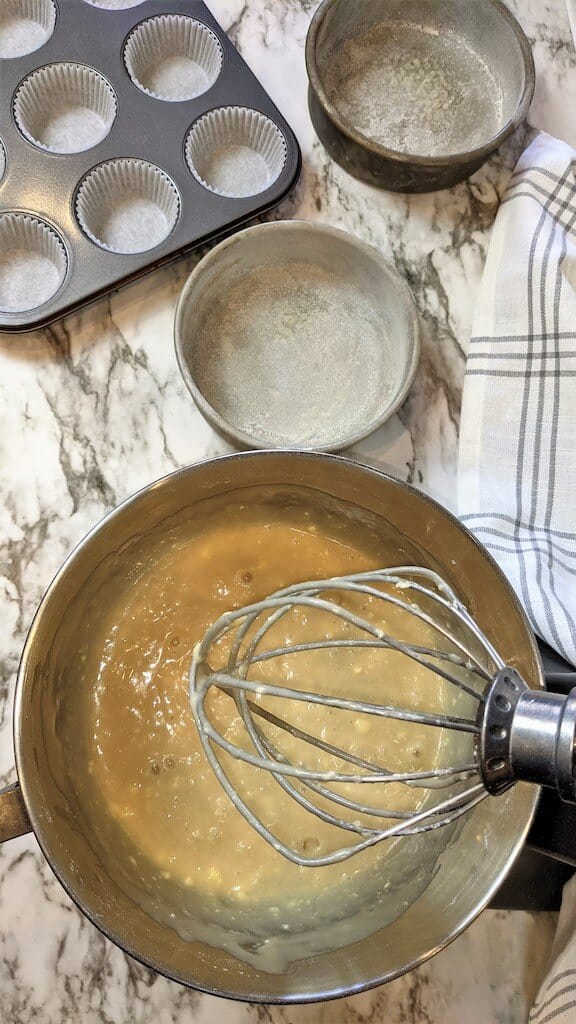
2. In a stand mixer, mix milk, egg whites, flavorings, baking powder, sugar and flour. Combine well. Add in softened butter just until incorporated. Butter pieces should be the size of a pea.
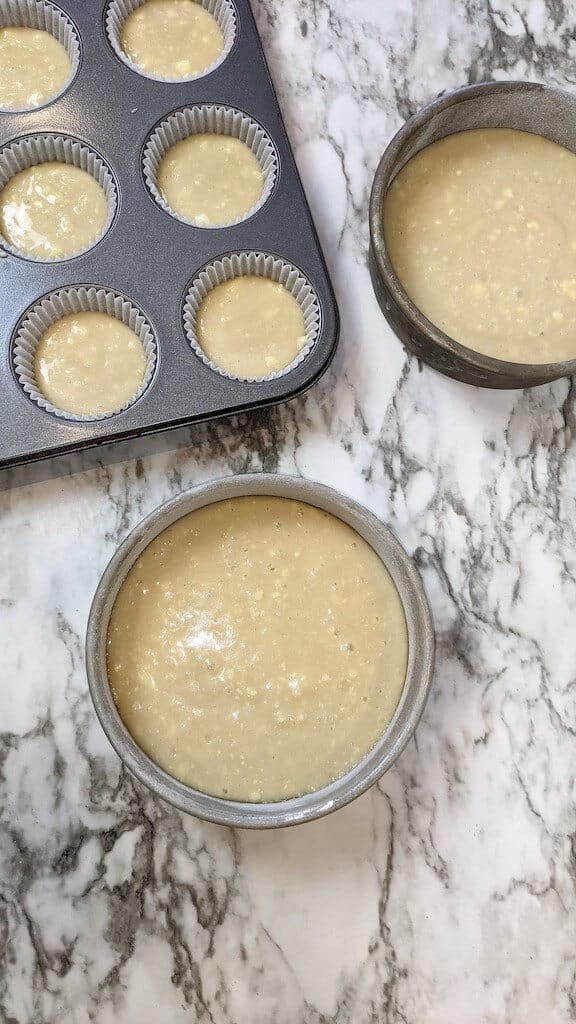
2. -For cupcakes: pour into paper lined muffin pans. Bake at 350 degrees for 16-18 minutes.
-For 6 inch cake: spray pans with non-stick spray and then a light dusting of flour to coat the pan for easy removal. Bake at 350 degrees for 25-32 minutes or until a toothpick inserted into the middle of the cake comes out clean.
4. Allow to cool completely before decorating.
Buttercream Frosting Recipe:
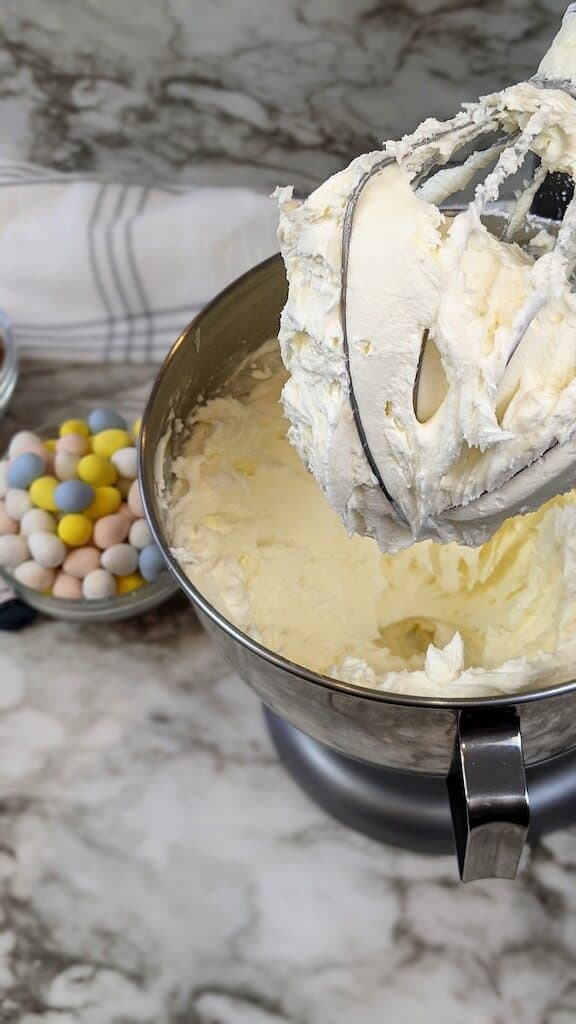
1. In a stand mixer, beat softened butter on medium speed for about a minute.
2. Slowly add in half of the powdered sugar. Mix well.
3. Add remaining powdered sugar.
4. Add in a dash of milk or milk substitute and mix.
5. Repeat if needed until desired consistency. Buttercream should be thick to maintain details of the decoration but not so thick that it’s clumpy and unable to spread.
Decoration Instructions:
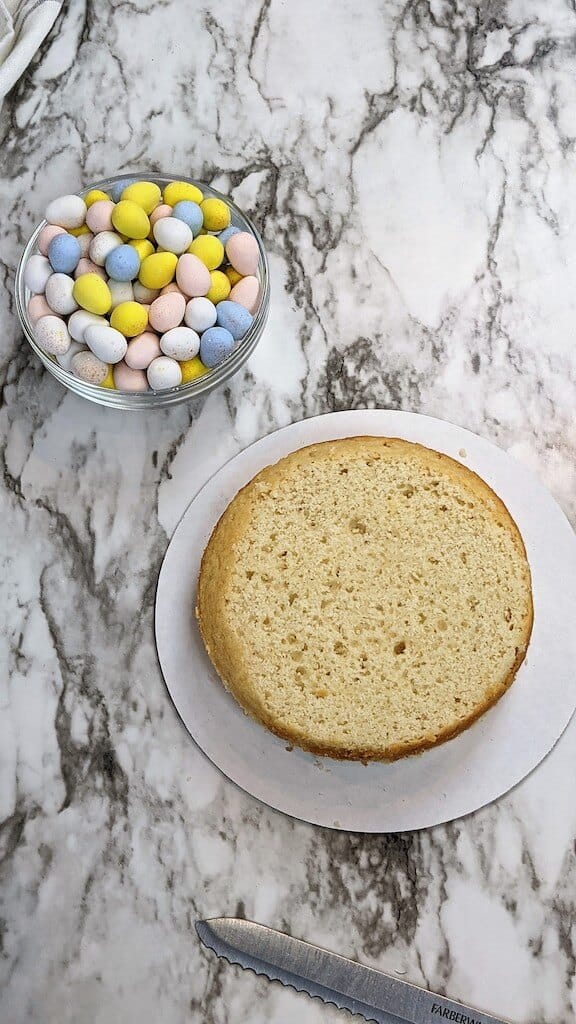
1. Once the cake has been made and cooled, carefully remove from the pans.
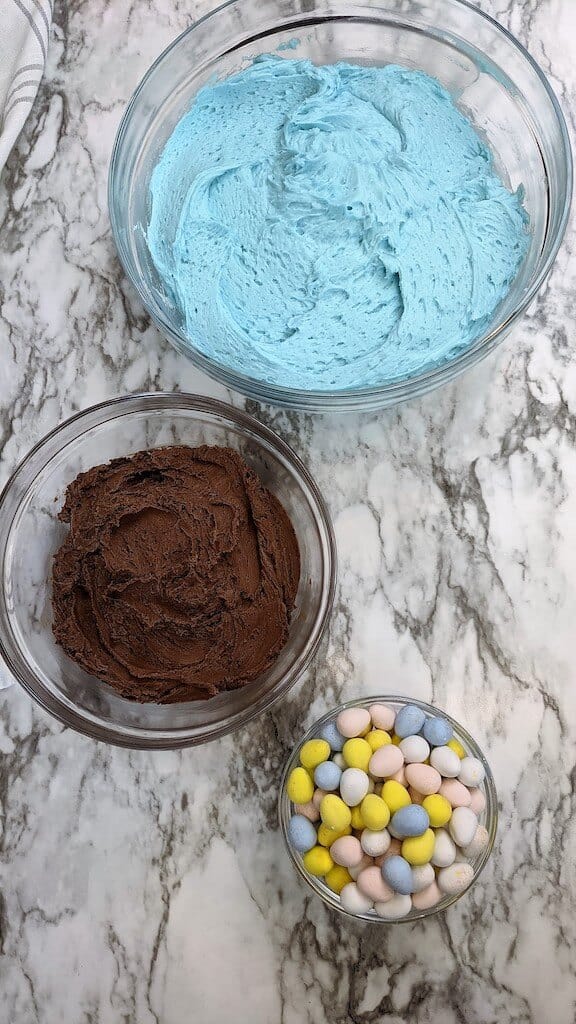
2. Separate your buttercream into two bowls. Approximately ⅔ in one large bowl and the other ⅓ in a smaller bowl.
3. Tint the larger bowl with the light blue food coloring – start with just one or two drops and add more until you have your desired color. Stir well.
4. Add the ¼ cocoa powder to the smaller bowl. You may need a dash of milk if the added dry ingredients make the mixture too stiff.
5. Place the chocolate buttercream in a pastry bag fitted with a 2D decorating tip. Set aside.
6. With a serrated knife, cut off a layer from the very top of the cake to ensure a level cake.
7. Place one cake round on a plate or platter of your choice.
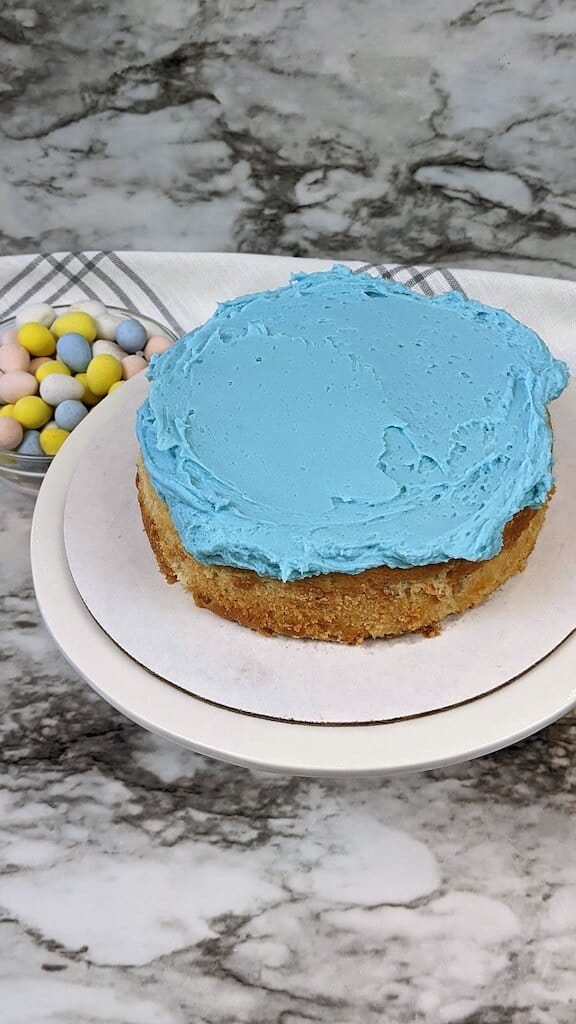
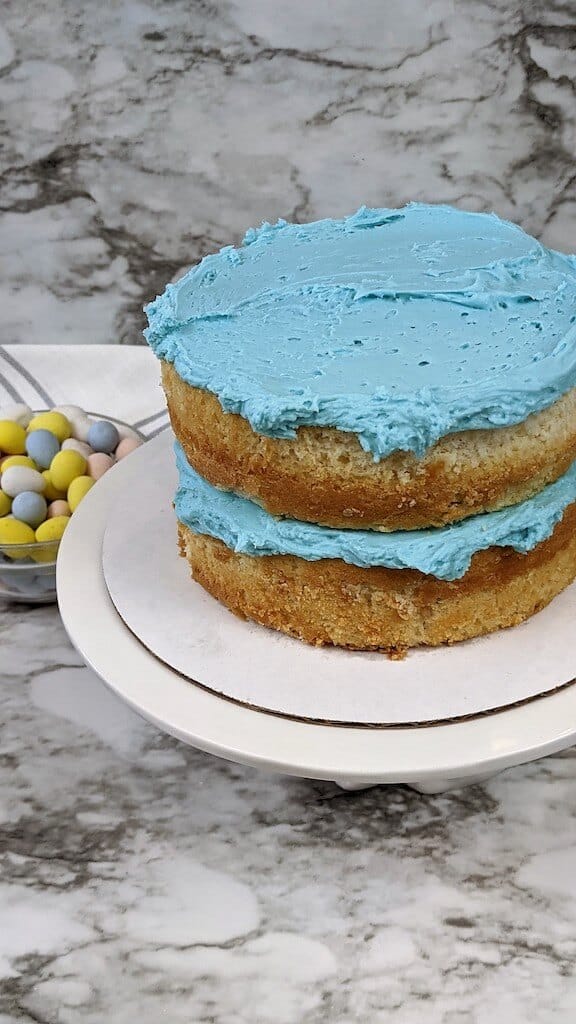
8. Place approximately ½ cup of blue frosting and spread to cover the top of the cake.
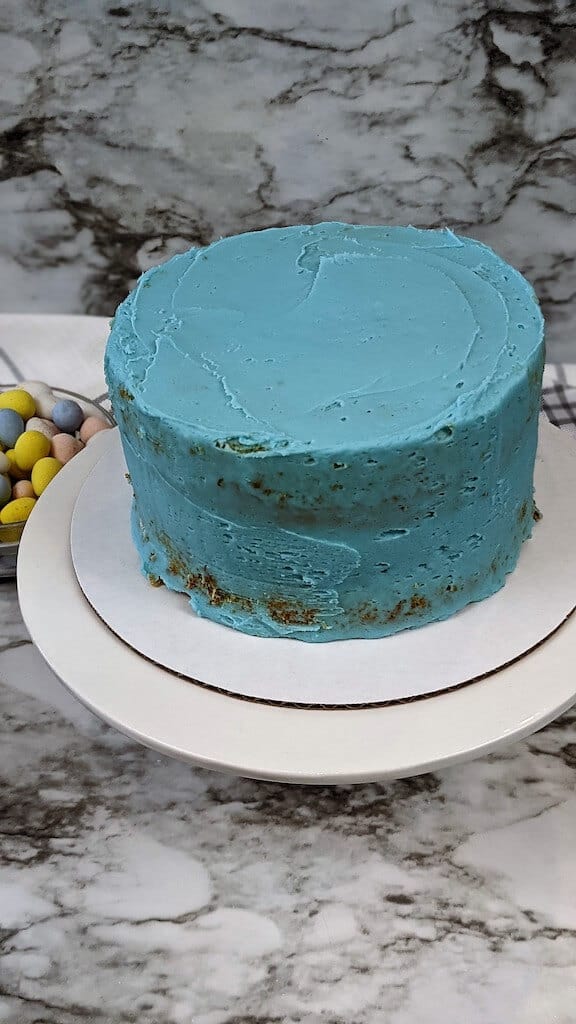
9. Place the second cake round on top of the first frosted cake and cover fully with the rest of the blue frosting. Spread frosting as evenly as possible – this is just the crumb coating, so just a thin layer is sufficient to set the cake. Once an even, thin layer coats the cake side and top, place in the fridge or freezer to chill for approximately 30 minutes.
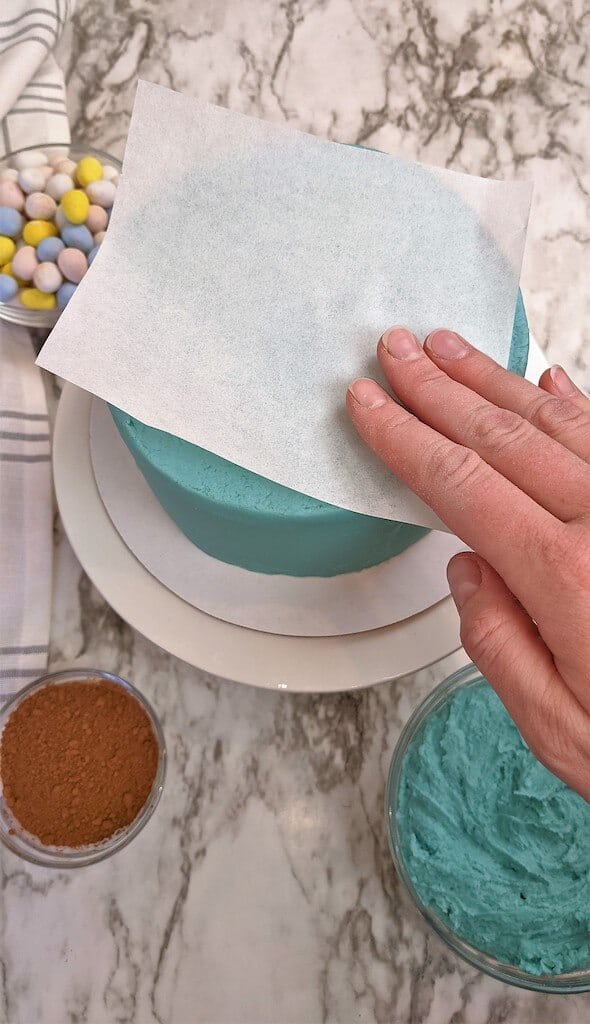
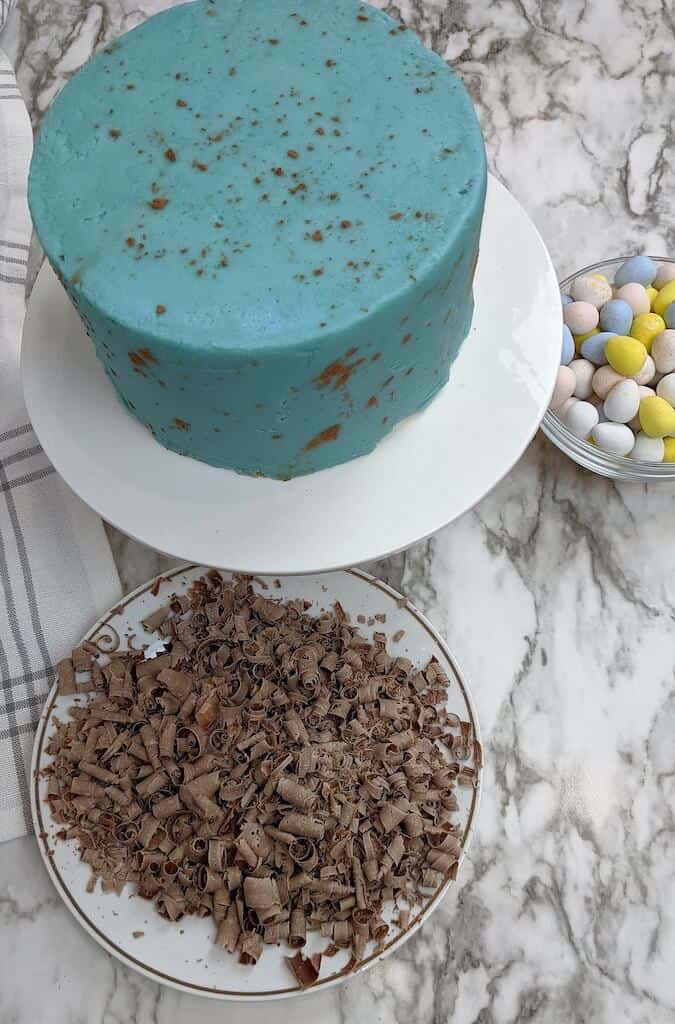
10. Remove the cake from the fridge/freezer and coat with another, thicker layer of blue frosting. Even it out as best as possible, preferably with an angled metal spatula or flat edge scraper. You can use a piece of parchment paper to smooth any ridges and divots in the frosting by lightly pressing the parchment on the cake. Move around as needed to smooth areas that are stubborn until the blue buttercream is smooth.
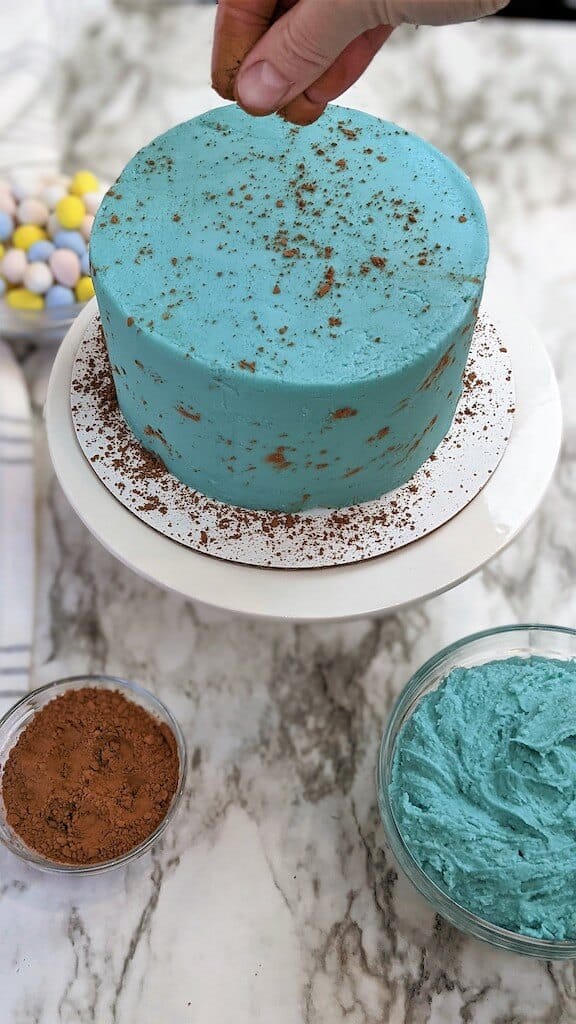
11. Sprinkle with just enough cocoa powder to give a “splatter” look. Start with just a little bit, you can always sprinkle a little bit more but adding too much is very difficult to remove without compromising the smoothness of the frosting.
12. Press a handful of chocolate shavings around the bottom of the cake. Continue all the way around – some will drop onto the platter, spread around evenly.
Cupcake Decorations
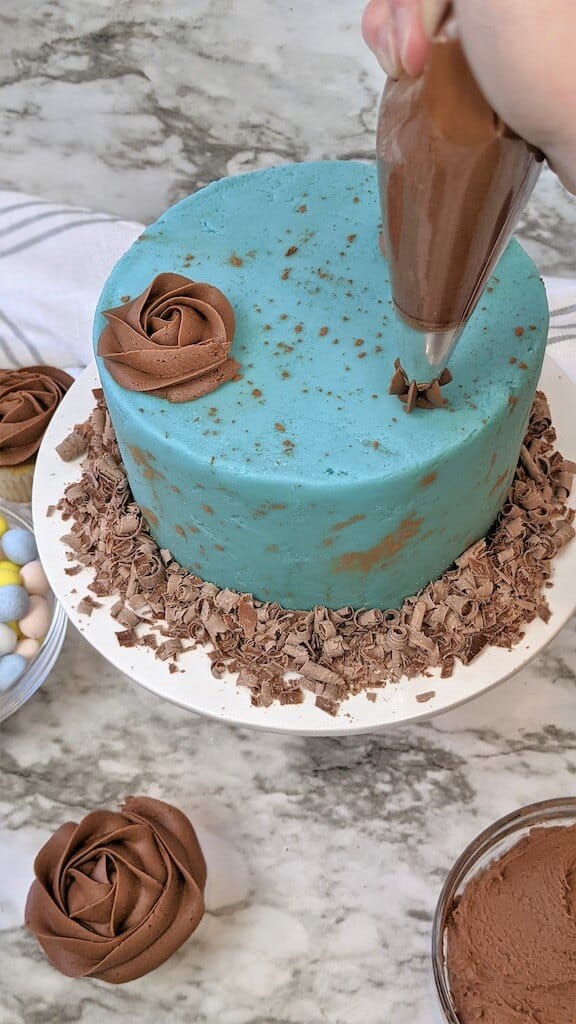
1. Using the pastry bag with the chocolate frosting fitted with the 2D tip, decorate the cupcakes. Start in the center of the cupcake and with slow, steady pressure with the tip perpendicular to the top of the cupcake, rotate the frosting in a spiral pattern all the way around the center point and out toward the edge of the cupcake. Stop applying pressure to the pastry bag and slowly break away from decorating the cupcake.
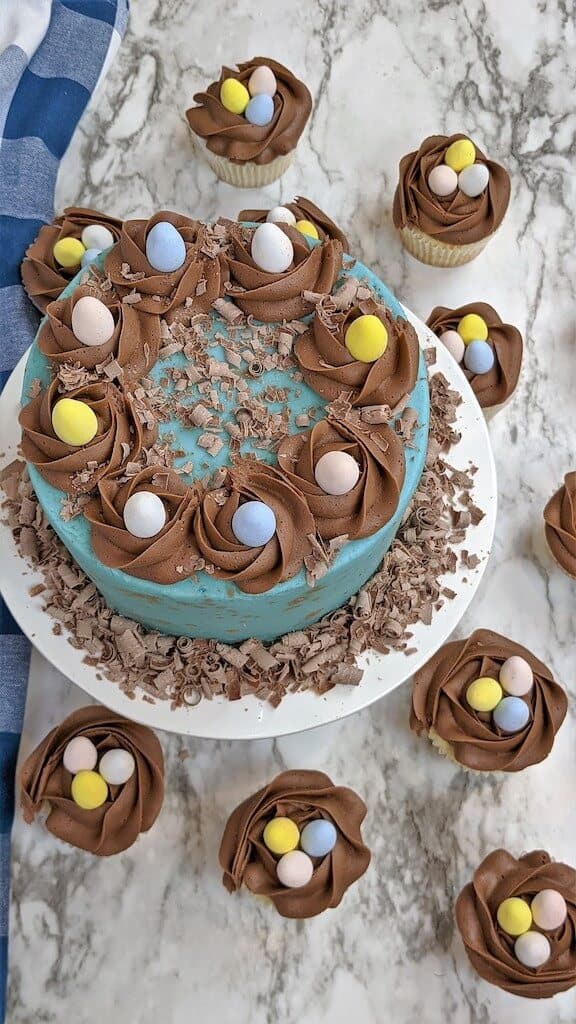
2. Place three of the robin egg chocolate candies in the middle of the nest of the cupcake.
3. Repeat with remaining cupcakes.
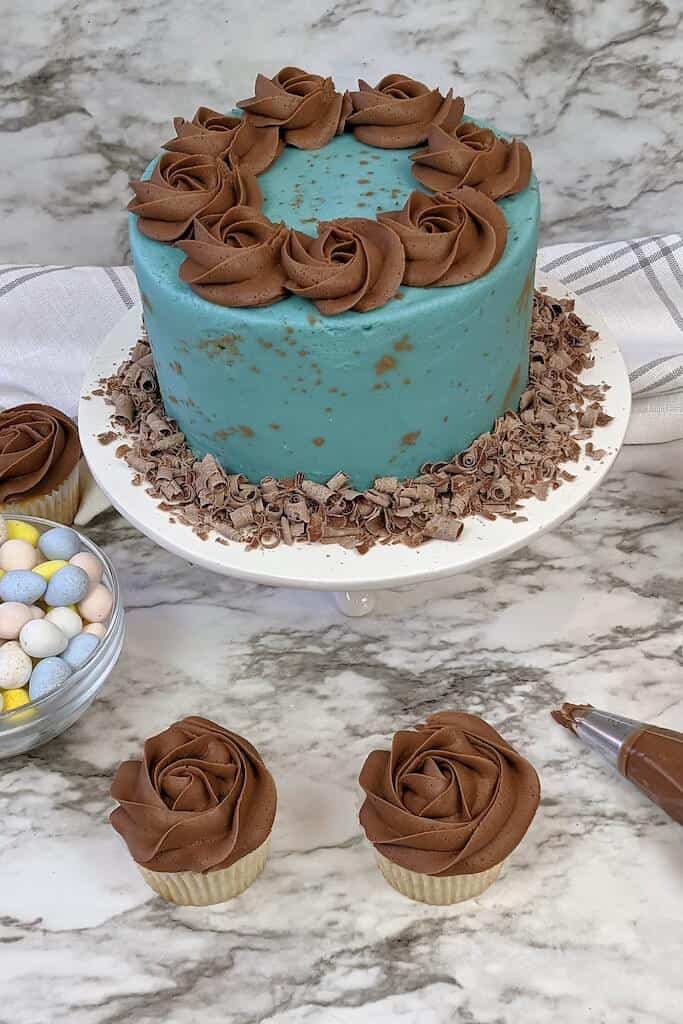
To decorate the cake with the chocolate frosting: Using the same spiral motion to decorate the cupcakes, create the chocolate nests around the exterior edge of the cake. Place the chocolate candies in the center of each chocolate nest. Top with remaining chocolate shavings, if desired.
Store in the fridge until ready to serve.


